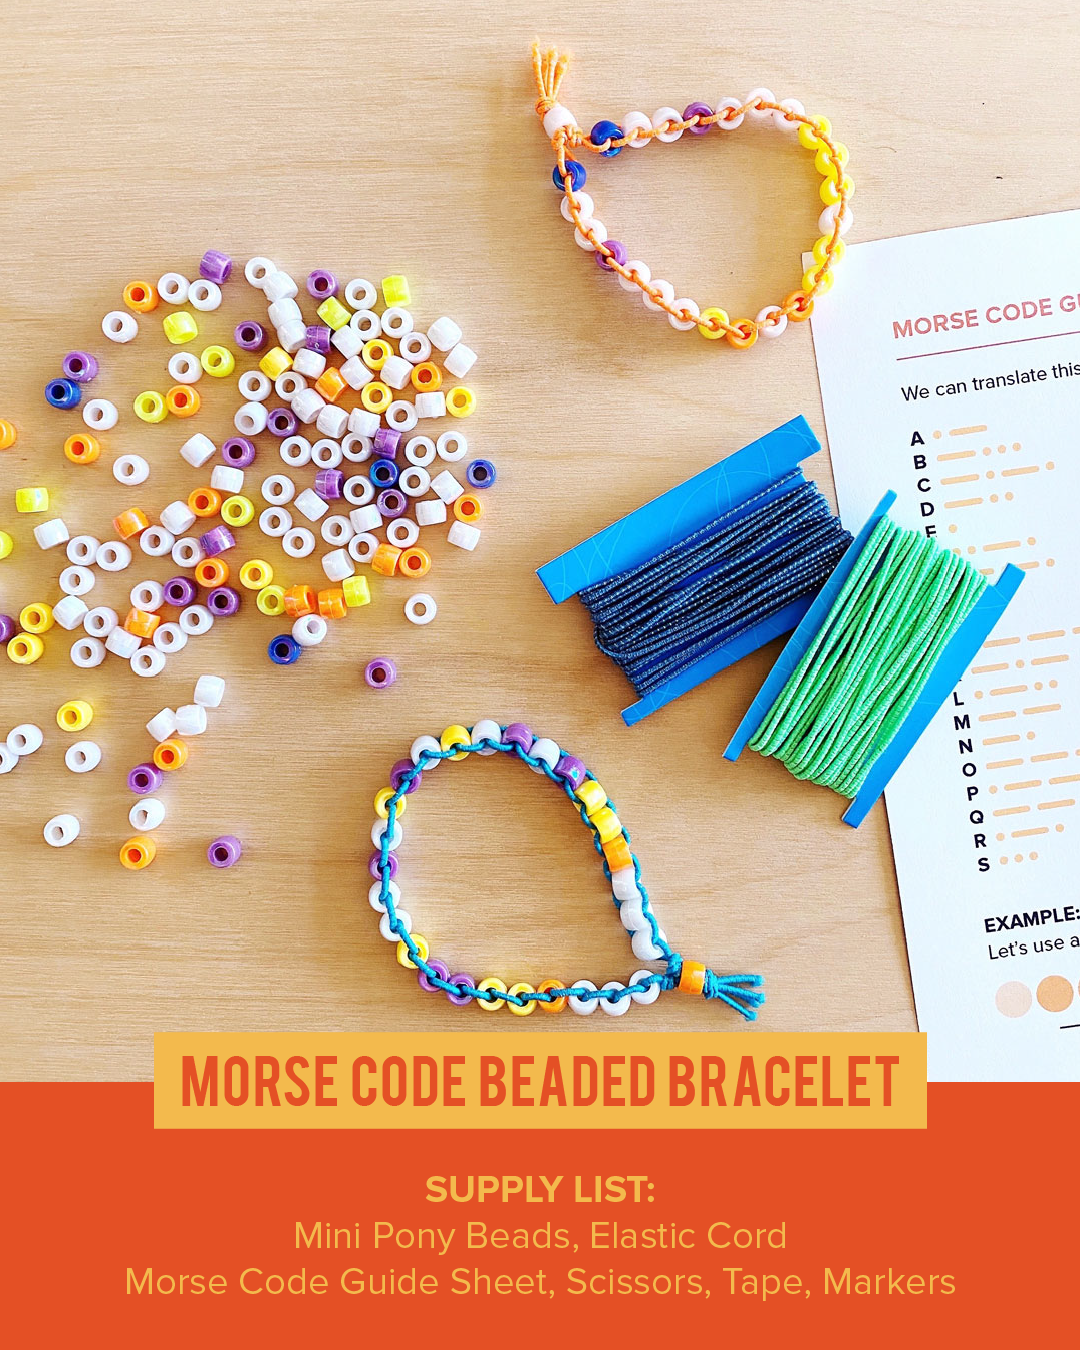
Morse Code Beaded Bracelet
Interested in learning how to create a beaded bracelet with a hidden secret message? We went LIVE on a Facebook video to demonstrate this project!
Watch the project demo video below!
—
Grab supplies around your house (or buy this kit) to work as we work or view the stream to see how we do it first and get crafty another time.
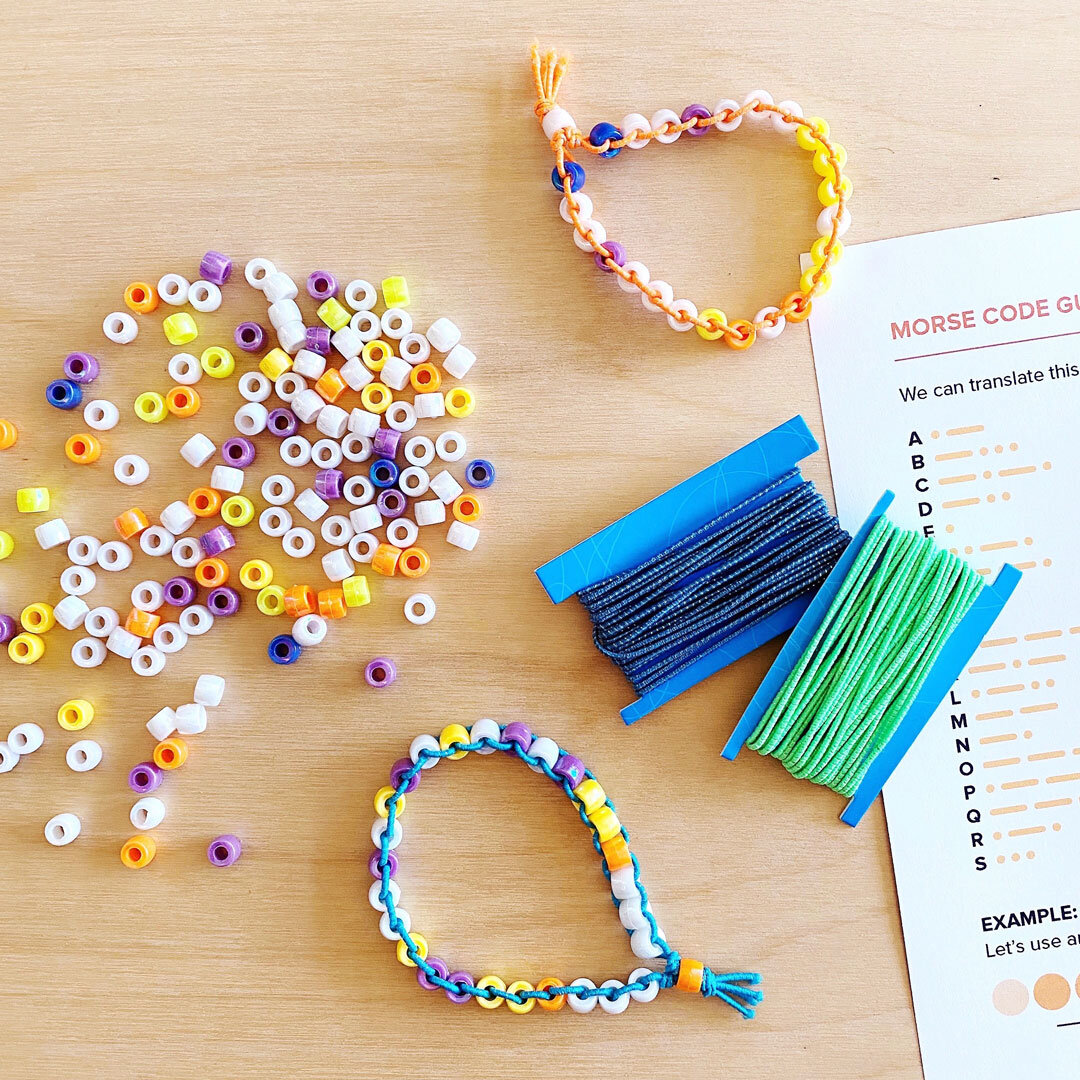
SUPPLY LIST:
- Mini Pony Beads*
- Elastic Cord*
- Morse Code Design Guide*
- Scissors
- Tape
- Also Helpful: Markers
*These items are included in the project kit
How to Create a Morse Code Beaded Bracelet
Print out your Morse Code Design Guide to start planning your design
Pick a short word and use the sheet to translate the word into bead colors
- Use a color (ex: purple) for dots and another color (ex: orange) for dashes
- Select another color to be a spacer bead between lettersStart with your word design and then add a few beads to either side to create a bracelet design that is 26+ beads long
I set my beads on a piece of tape, sticky side up, so they stay put!
Measure out 3ft of elastic cord (or longer for more than 26 beads)
Fold your elastic cord in half and tie a knot at the middle, creating a 2in loop
Tape your cord to the table and you’re ready to thread on your first bead!
Grab your first bead from the design you’ve laid out and send each cord through the hole from opposite directions
- Pull your cord ends to tighten your bead to the top of your braceletKeep going with all your beads and tie a knot at the bottom to secure
You can tie your ends together and you have a bracelet, or add your closing bead to finish it off
To add the closing bead:
- Take your two elastic ends and thread them through your bead in the same direction
- Thread your elastic loop through the bead in the same direction
- Tie an overhand knot and pull tight to secure
- Trim your ends to 1/4in