DIY Rainbow Pumpkin

The cute mini white pumpkins at the grocery store caught my eye this year and I decided to use some bright tissue paper I had in the studio to decorate them in a rainbow pattern. Since the pumpkin is white, it allows the bright colors of the tissue paper to really pop and create the graduated rainbow.
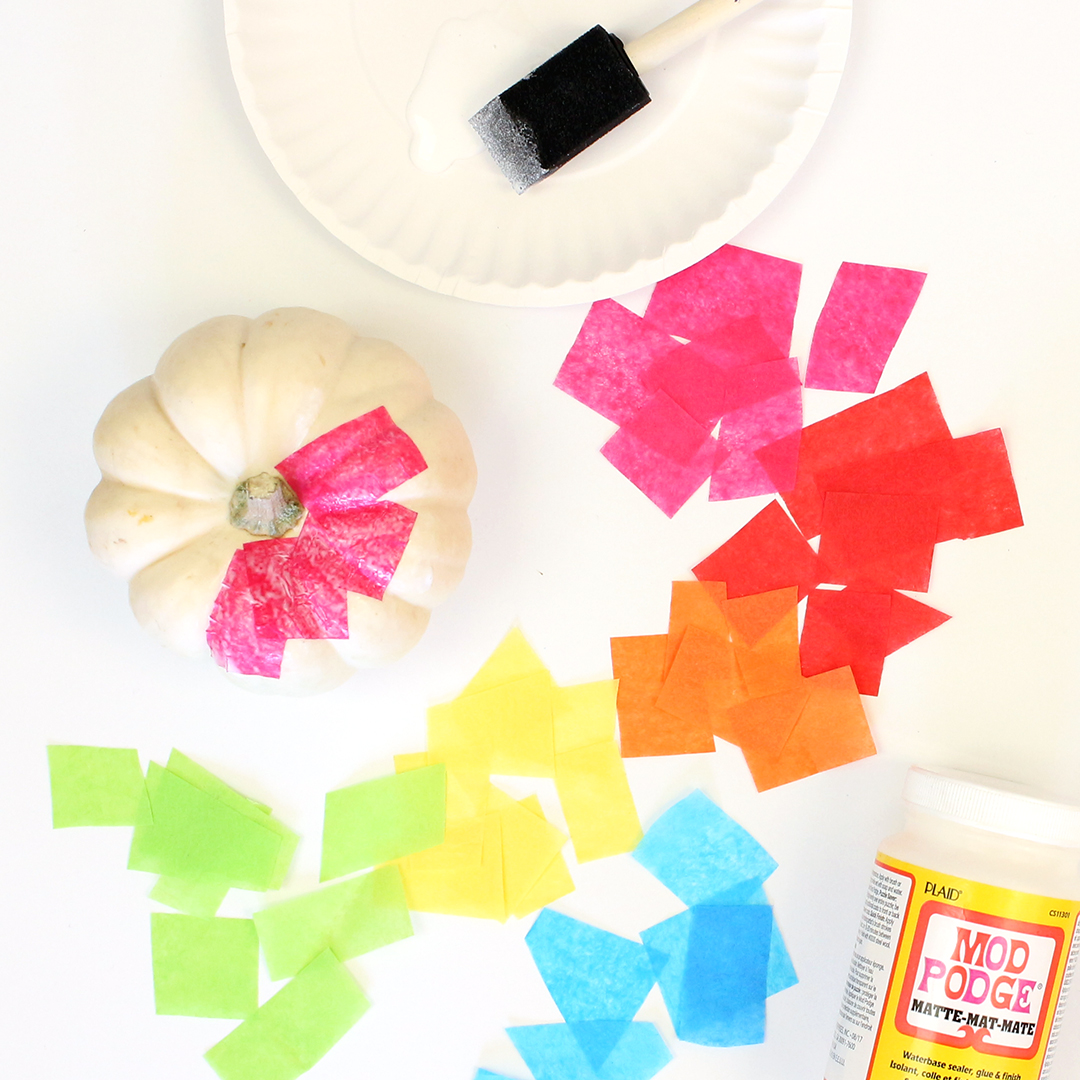
What You’ll Need:
White pumpkin (I got a mini one at the grocery store for $1)
Gift wrap tissue paper in rainbow colors (find online, or pick up in any gift wrap department)
Mod podge (find online, or at your local hobby store)
Scissors
Foam brush
*Material examples linked on our Halloween shopping list
Directions:
Start by cutting up your colored tissue paper into small pieces. I cut them around 1” x 1” but angled some sides to create a variety of similarly sized shapes.
Starting at the top, paint some mod podge onto the pumpkin, lay your first color pieces down (I did pink first), and paint some mod podge over the top of them. The first layer of glue helps the tissue stick and the top coat gives it a nice subtle gloss finish.
Continue working around the pumpkin, overlapping the pieces.
Start your next color below your first, layering each color row slightly over the row above it to blend the colors down.


We love seeing what you create! Tag us on social or send us your pictures :)
